


Working on a dieline template allows you to be as creative as you want with your packaging design and artwork. Please follow the guidelines below to ensure your packaging design is ideal for the packaging production process. If you don’t have a dieline for custom boxes, you can download our free dieline templates.
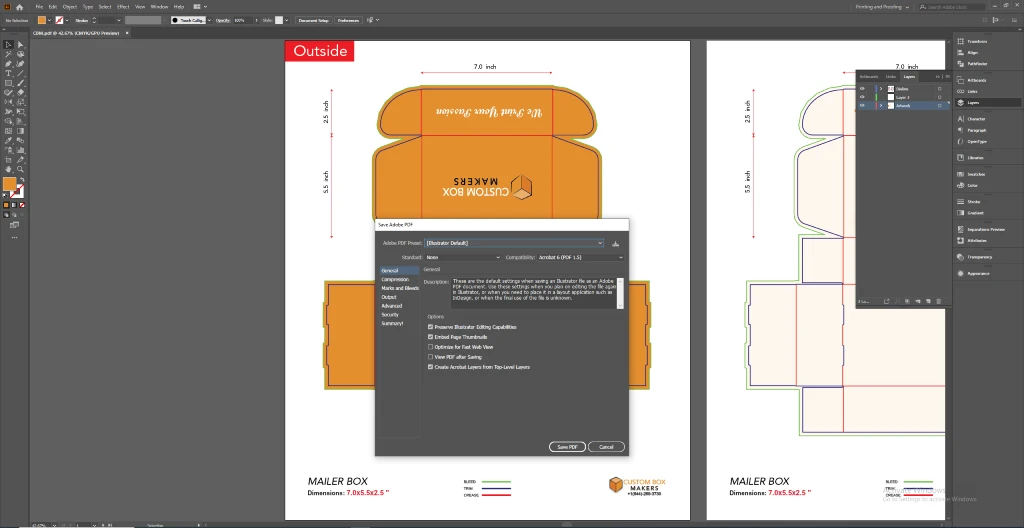
In Adobe Illustrator, navigate to File > Document Color Mode > CMYK Color. For any Pantone or spot colors in your design, please convert them to CMYK. Kindly provide us with the corresponding Pantone C color code(s) used in your design.
Following are the useful resources:

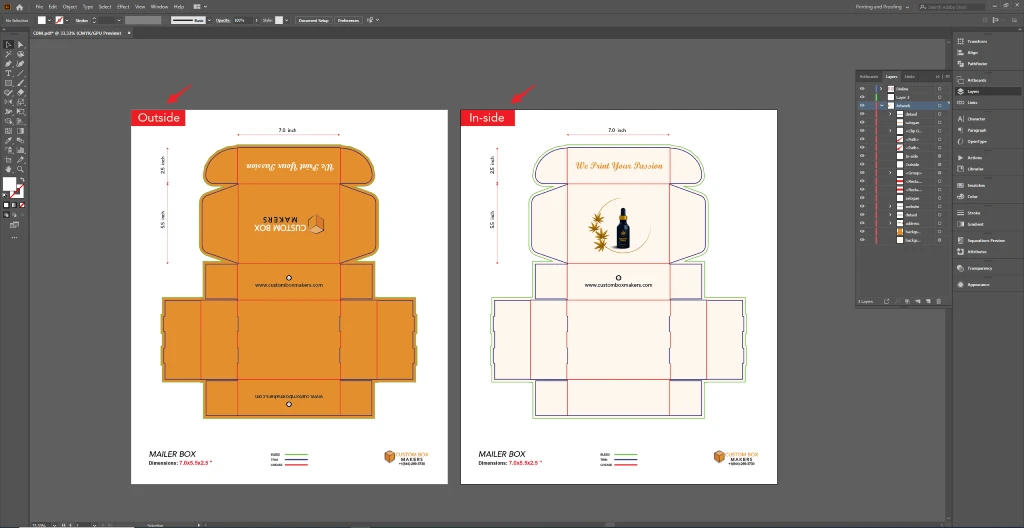
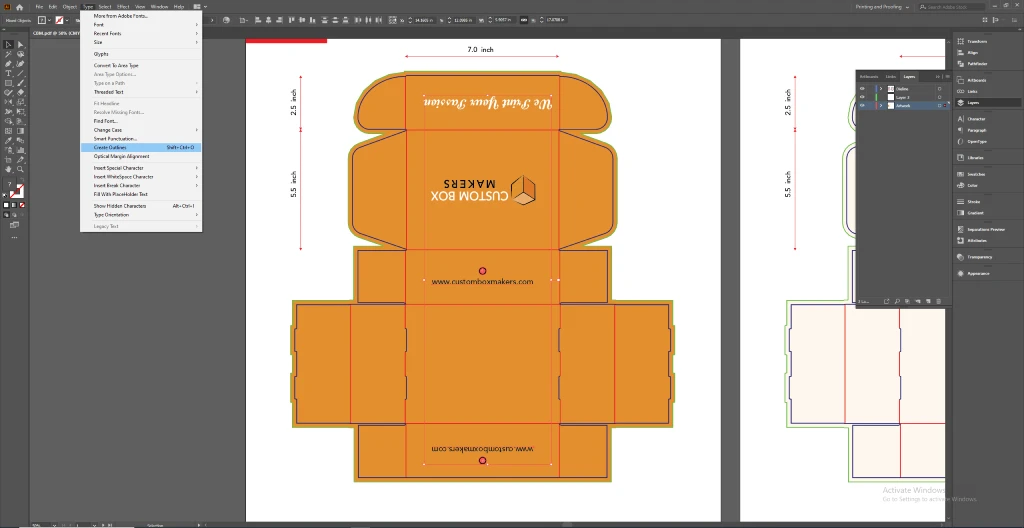
Make sure your images and text face the correct way when your packaging is manufactured. Please follow the orientation guide given below, and feel free to use them to test by printing your designs at home.

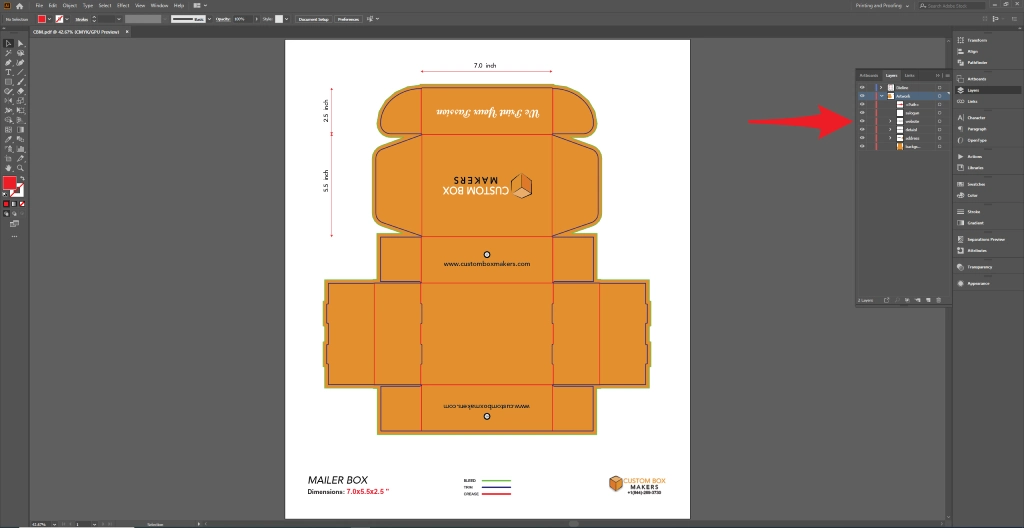
Place all artwork and designs on the designated “Artwork” layer. Leave the “Dieline” as it is. Do not delete the “Dieline” layer, as it is essential for production purposes (the dieline itself will not be printed).

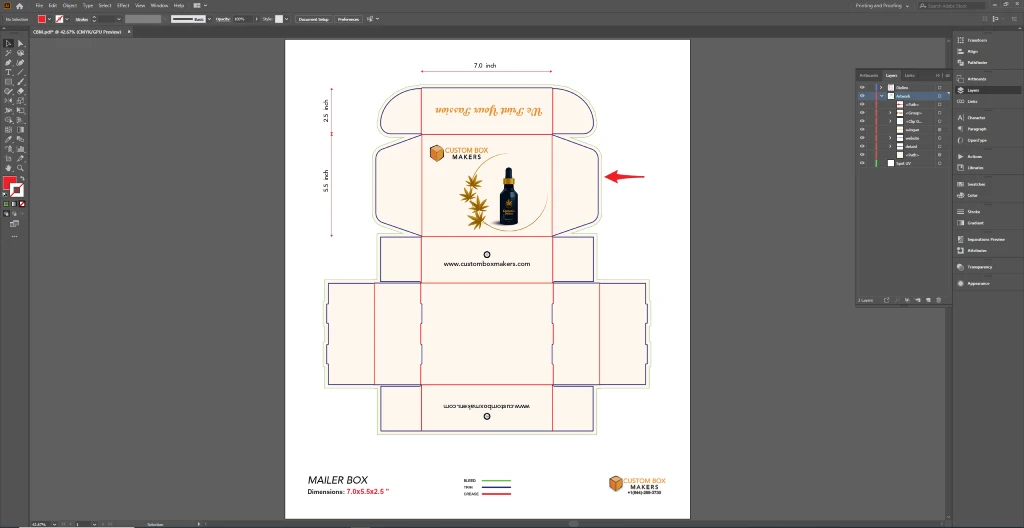
For each enhancement (embossing, debossing, spot UV, or foil stamping) in your design, create a separate layer. Clearly indicate the specific areas where each enhancement will be applied on its respective layer.
Place all artwork and designs on the designated “Artwork” layer. Leave the “Dieline” as it is. Do not delete the “Dieline” layer, as it is essential for production purposes (the dieline itself will not be printed).
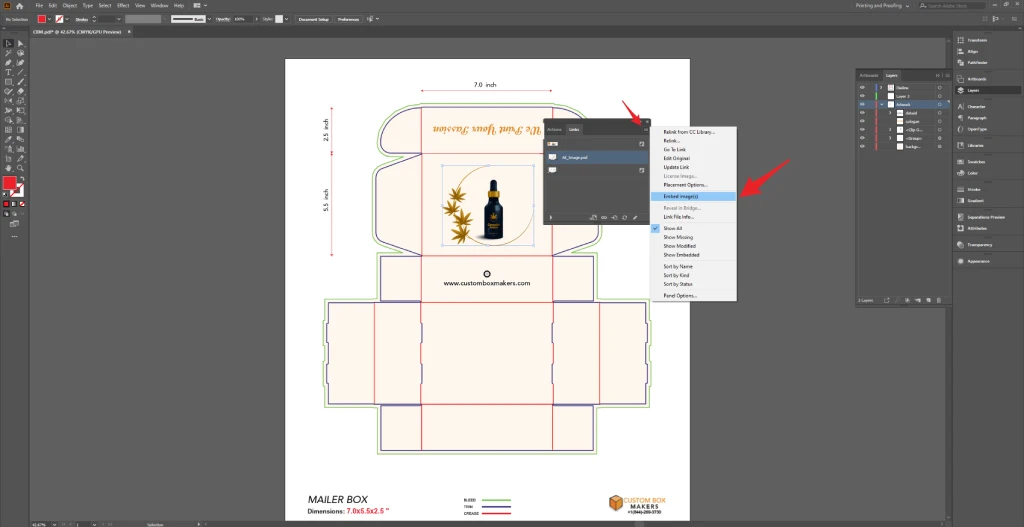
Please follow these guidelines to ensure your packaging does not have unprinted edges:
For embossing, debossing, foil stamping, or spot UV:
